How to Make Pour-Over Coffee: A Step-by-Step Beginner’s Guide
There’s something uniquely satisfying about pour-over coffee. It’s a brewing method that promises clarity, bringing out the bright, nuanced, and delicate flavors in a coffee bean that other methods can sometimes overwhelm. It’s both a science and a ritual.
If you’ve ever felt intimidated by the sight of a gooseneck kettle and a cone-shaped dripper, you’re not alone. But the truth is, while pour-over offers a high ceiling for perfection, the basics are simple, forgiving, and easy to master.
This guide will walk you through everything you need to know. We’ll cover the essential gear and provide a simple, reliable step-by-step recipe that will serve as the perfect foundation for your pour-over journey.
1. Why Choose Pour-Over?
Unlike a French Press where coffee steeps in water (immersion), pour-over is a percolation or drip method. Water passes through a bed of coffee, and a paper filter traps most of the oils and fine sediment. This process is what gives pour-over its signature characteristics:
- Clarity: It produces an exceptionally “clean” cup, allowing you to taste the distinct origin notes of the coffee, from the fruity brightness of an Ethiopian bean to the floral notes of a Panamanian Geisha.
- Control: Every element—water temperature, pour speed, grind size—is in your hands. This gives you complete control to experiment and tailor the brew to your exact preference.
2. The Essential Gear
You don’t need a lot of expensive equipment to get started, but a few key items are necessary for consistency.
- A Dripper: This is the cone that holds the coffee and filter.
- Paper Filters: Make sure you get the correct filters that are designed for your specific dripper.
- A Burr Coffee Grinder: This is crucial. A quality burr grinder will give you the consistent, even grind size needed for a balanced extraction. (If you need help choosing, our Complete Guide to Coffee Grinders can help.)
- A Digital Scale: Brewing coffee is about ratios. A scale that measures to 0.1 grams allows you to use the same amount of coffee and water every time, which is the key to repeatable results.
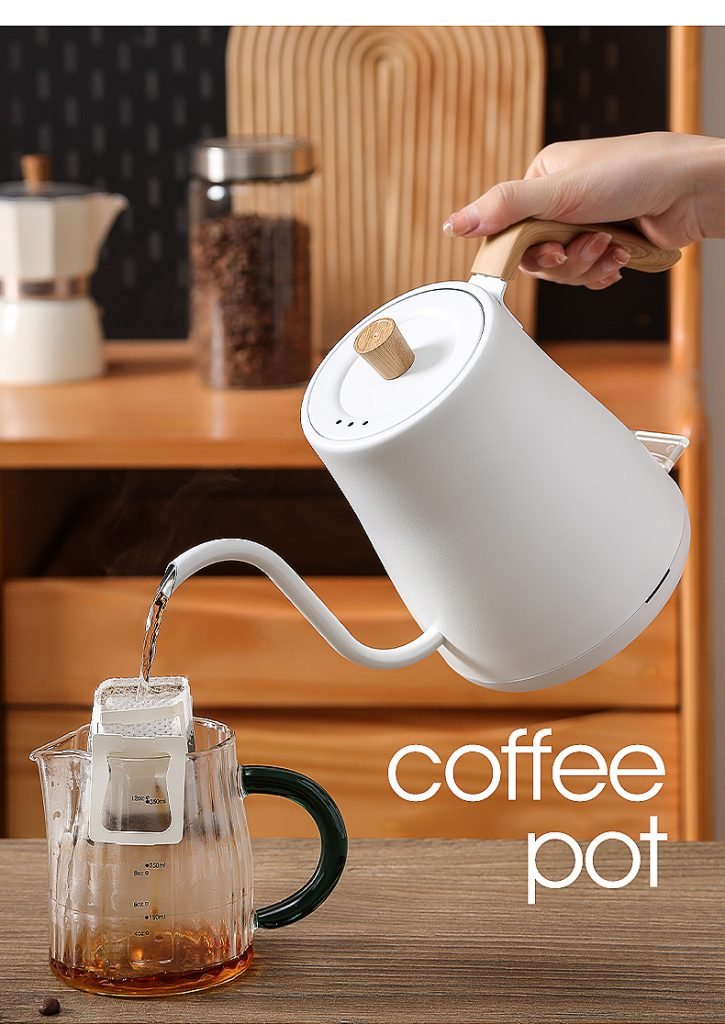
- A Kettle: While any kettle will work, a gooseneck kettle with its long, narrow spout is highly recommended. It gives you precise control over where you pour the water and how fast it flows.
3. The Recipe: A Simple Starting Point
This is a classic, go-to recipe that works beautifully for most coffee beans. It uses a 1:16 coffee-to-water ratio.
Recipe Summary:
- Coffee: 20 grams
- Water: 320 grams (or 320 ml)
- Grind Size: Medium-fine, like the texture of table salt.
- Water Temp: 93-96°C (200-205°F). If you don’t have a thermometer, let boiling water sit for about 30-45 seconds.
- Total Brew Time: Approximately 3 minutes.
The Step-by-Step Guide for Pour-Over Coffee
Step 1: Prep Your Station Start boiling your water. Place your mug or carafe on the digital scale, put the dripper on top, and place the paper filter inside the dripper. Weigh out your 20 grams of coffee beans.
Step 2: Rinse and Preheat (0:00) Once the water is hot, pour it over the empty paper filter, ensuring you wet the entire surface. This does two important things: it removes any paper taste from the filter and it preheats your dripper and carafe. Discard this rinse water and grind your coffee beans.
Step 3: Add Coffee and Tare Pour your freshly ground coffee into the filter. Give the dripper a gentle shake to create a flat, level bed of grounds. Place everything back on the scale and press the “tare” button to zero it out.
Step 4: The Bloom (Start timer: 0:00 – 0:45) This is the most magical part. Start your timer and gently pour about 50 grams of water over the coffee grounds, making sure to wet them all evenly. You will see the coffee bed puff up and bubble. This is called the “bloom,” and it’s fresh carbon dioxide gas escaping from the coffee. This 45-second step allows the gas to escape so the water can properly extract flavor later.
Step 5: The Main Pour (0:45 – 2:15) Now, begin the main pour. Pour the water in slow, steady, concentric circles, starting from the center and moving outwards, then back in. Avoid pouring directly on the filter paper itself.
- At 0:45, slowly pour until the scale reads 180g. Let the water level drain a little.
- At around 1:30, perform your final pour until the scale reaches 320g.
Step 6: The Drawdown (2:15 – 3:00) Allow all the water to filter through the coffee grounds. The goal is for the bed of coffee to look relatively flat and dry by the time your timer hits the 3-minute mark.
Step 7: Serve and Enjoy Remove the dripper from your mug or carafe. Give your coffee a gentle swirl and enjoy the clean, delicious cup you just crafted.
4. Common Mistakes & Simple Fixes
Don’t worry if your first few cups aren’t perfect. Troubleshooting is part of the fun.
- Problem: My coffee tastes sour or weak.
- Cause: Under-extraction.
- Solution: Your grind is likely too coarse. Adjust your grinder one or two steps finer.
- Problem: My coffee tastes bitter or harsh.
- Cause: Over-extraction.
- Solution: Your grind is likely too fine. Adjust your grinder one or two steps coarser.
- Problem: My brew is taking much longer than 3 minutes.
- Cause: Your grind is too fine, creating a dense bed that chokes the water flow.
- Solution: Coarsen your grind.
5. Conclusion: Your Pour-Over Journey
Learning how to make pour-over coffee is an incredibly rewarding experience. It’s a journey of small adjustments and discoveries. Don’t stress about achieving the “perfect” cup right away. Instead, focus on the mindful, satisfying process. Pay attention to how small changes in your grind and pouring affect the final taste, and enjoy the delicious results of your craft.
Ready to explore a different style of brewing? Now that you’ve mastered a key percolation technique, see how it compares to immersion or pressure brewing in our complete Guide to Coffee Brewing Methods.
Welcome to subscribe to our YouTube channel
https://www.youtube.com/channel/UChoV1BYSsG476ubjjpu2LsQ
Get the latest updates and discounts—follow us on Facebook!
https://www.facebook.com/profile.php?id=61573369014606